


Recapping our progress up to this point, we have painted the walls, installed some re-purposed cabinets and covered the floor with epoxy. Now we need to add some workspace. I had a lot of options to choose from at this point. I could buy pre-constructed workbenches from one of the home improvement stores. I could stop by some local garage sales and see if there is anything I can find. I could even check the newspapers for office sales and possibly take some old desks and use them, but I wanted something a little more custom!
I first measured how large I wanted my bench’s to be. I decided my bench would span the entire distance of the cabinets that I previously installed. So with my measurements in hand I took off to my local home improvement store. I purchased standard 2’x4’s 8ft long and a couple of 4’x8’ ¾” sheets of plywood (quick tip, save your back and take someone with you to help with the plywood). I brought it home and got to work.
There are many ways you can build your bench. I am fortunate enough to have access to a Ramset which let me save on materials and under-bench space by not needing rear legs. I decided the height I wanted my bench to be, leveled the 2×4 off and shot the rear support into the concrete wall.
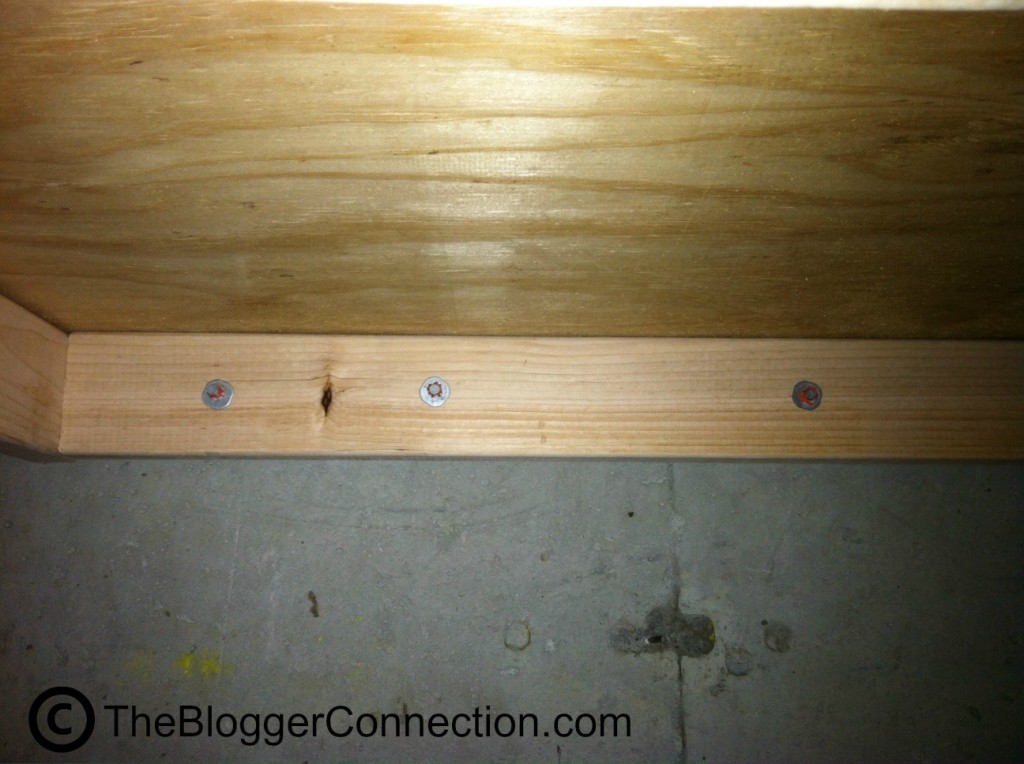
If you do not have access to a Ramset you can find a variety of concrete anchors at your local home improvement store. Or if you do not have concrete walls then simply make a rectangular frame with your 2×4’s square it off and add legs. I then formed my frame and added the front legs. I also installed supports running front to back of the frame about every 24”. If you feel it is necessary you can add additional supports for your bench but since I chose ¾” plywood I didn’t feel the need to do so. Next I measured for the top of my bench. I decided to make my benches 24” deep so that I could make multiple benches out of 1 piece of plywood. I ripped the plywood straight down the center using my 18V Porter Cable Circular saw (remember that if you make your frame exactly 24” deep then you may be a little short with your plywood top due to the wood loss from the saw blade). I placed the plywood on the frame and screwed it in.
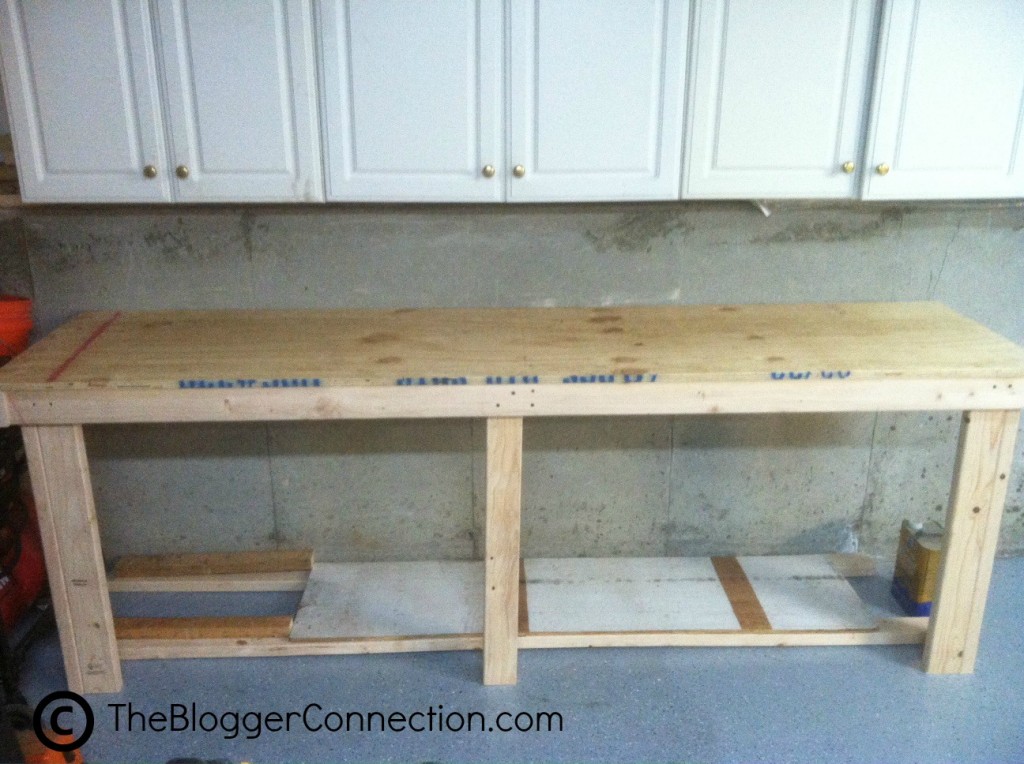
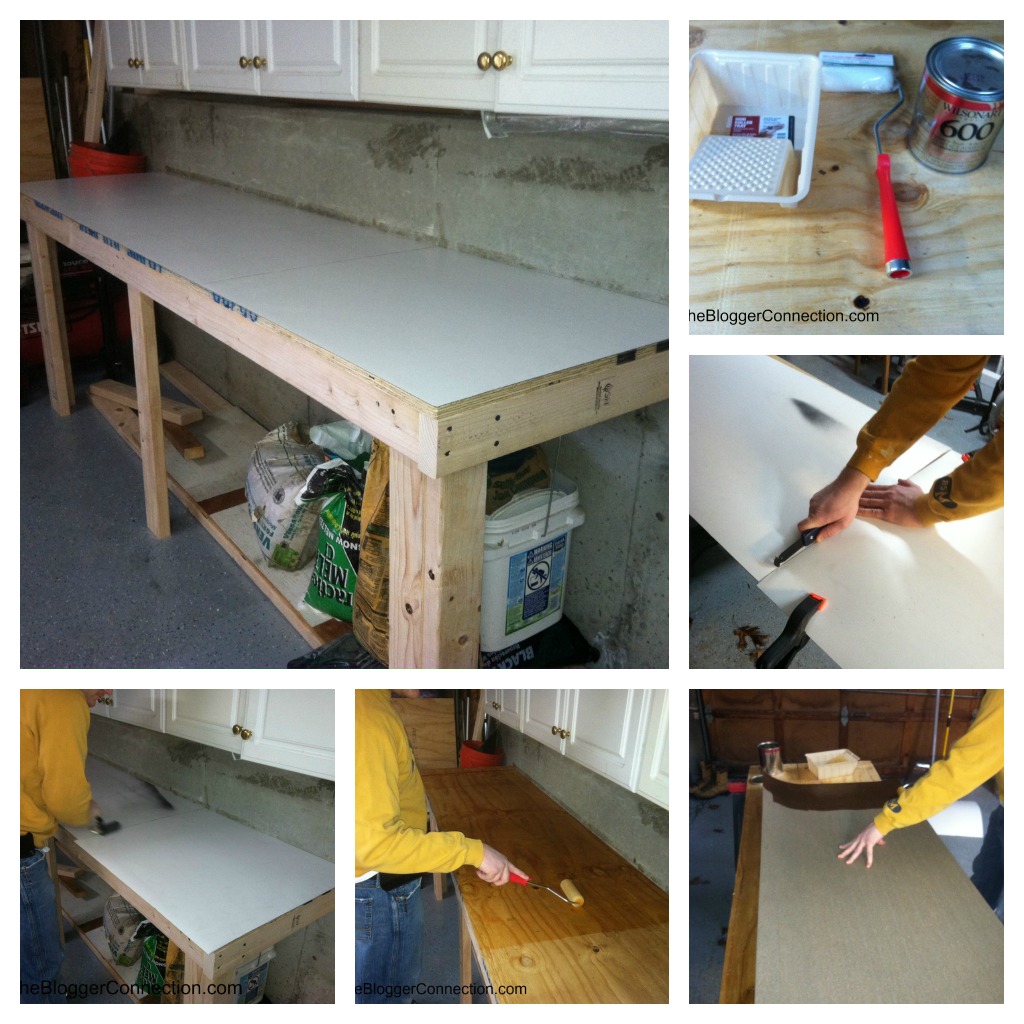
If you want you can add a shelf underneath for storage. I chose not to so that I could stack my larger tools that have cases underneath. Now I wanted something with a more finished look so I took some leftover laminate I had hanging around and covered the top of the bench to resemble a countertop (it’s easier than you think). I chose this because when I am working with glues, oils, or solvents they are easy to clean up and the laminate will keep plywood from soaking up liquids. If you would like more information about this contact me via twitter using @jkbeamer, comment on this post, or contact me via Facebook at http://on.fb.me/11avve3 . You can also paint your bench, if not then call it a day you’re finished!
Turn Your Garage Into A Workshop Part 1
Turn Your Garage Into A Workshop Part 2
Have you or your husband ever built a workbench? How did you do it?


My husband is a master carpenter/cabinet maker who has turned our garage into a workshop too. That long workbench looks a lot like one of his. Great job!
Thank you! I would love to see some pics of his workshop!