


“With imagination ANYTHING is possible,” Raggedy Ann
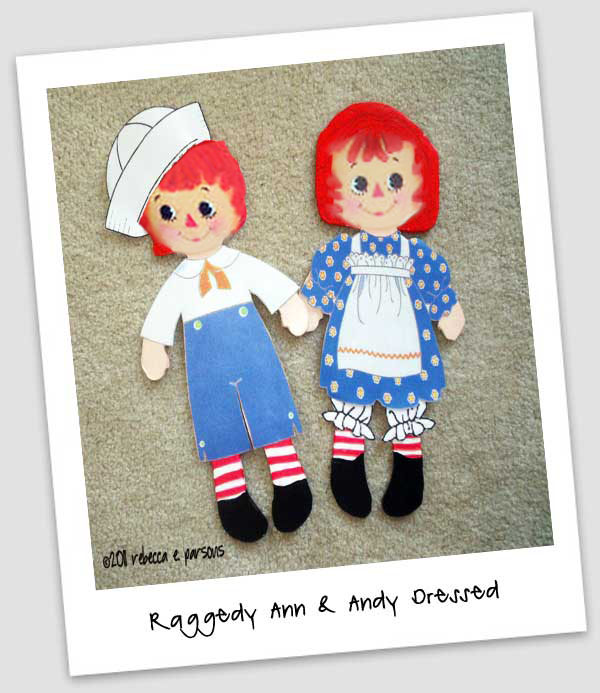
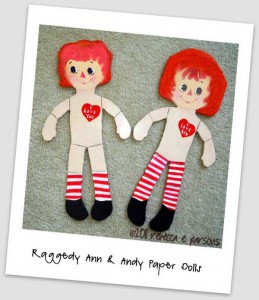
Raggedy Ann & Andy LARGE Paper Dolls
I did these last year on my blog and thought it was a good time to share. This is a great winter cold day craft project to share with your children.
 Sometimes I feel like a Raggedy Ann in a Barbie doll world. I wanted to make a fun Raggedy Ann and Andy craft project to do with my sweet baby girl (granddaughter). I usually have a bazillion ideas, but this time was a little different. I could make her the dolls, of course…but that has so been done. I could paint her a pair for her room…not quite right… I dreamed of a craft that would grow with her, one we could do together for many years that would be our special art activity…so this is what I came up with…giant 16″ paper dolls…enjoy! The tutorial on how to make them is below.
Materials
Elmer’s Acid Free Foam Board
Red yarn
Sketch pad and pencils
Ruler
Elmer’s X-TREME School Glue Stick
X-Acto knife
Paints and brushes
Here is what I did:
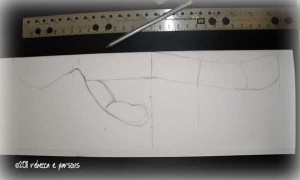
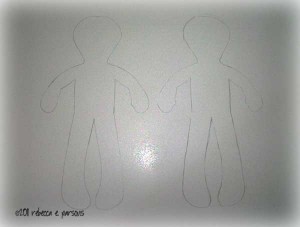
- I made a sketch of what the giant (16″ tall) paper doll would look like. This took me a while. I only sketched half the pattern as you see.
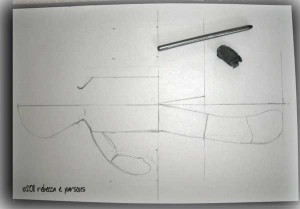
orignal sketch
- When I was happy with the sketch, I folded the paper in half lengthwise and cut it out. I did it this was because I wanted the sides to be identical.
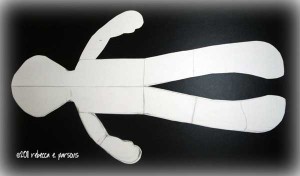
- I then traced the outline of Raggedy Ann and Andy onto the foam board and cut it out. If you need to blow the pattern up just take it to your copy store and print it on 11 X 17″ ledger paper.
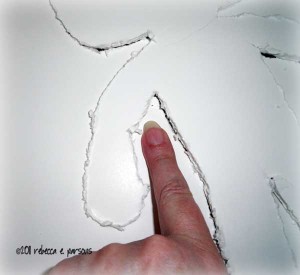
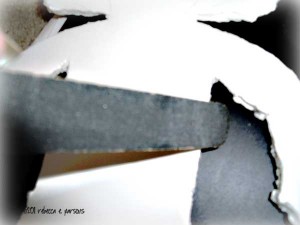
- Next I cut out the 16″ tall dolls with a SHARP X-Acto knife. This was not easy, but I took it slow. DO not aim to cut through the whole piece at one. Make several light passes. If you knife dulls, change the blade. This is tedious, but oh so worth it in the end. DESIGNER TIP: On the second doll I scored the foam with a pen first so my X-Acto blade would have something to rest in. Here is a video about cutting Elmer’s Foam Board. It show a straight line, but the curves work the same…Just take it slow.
- DESIGNER TIP: To punch out the paper dolls after cutting s complete, press on the foam board..not the doll. I do this in case it bends and I do not want my dolls with bent areas.
- I then sanded the edges with a large emery board. DESIGNER TIP: I used the side of my paintbrush (you could use a pencil) to push against the edges…perpendicular to the edge. This really helped condense the foam even more making the edges really smooth.
- I then painted the body flesh tone with acrylics. I painted the striped socks and black shoes…just like they are on the stuffed dolls. Then I painted the facial features. I used Elmer’s X-TREME glue Stick to glue the most important heart with “I Love You” on it. This glue is my go to for most projects now. It bonds super well.
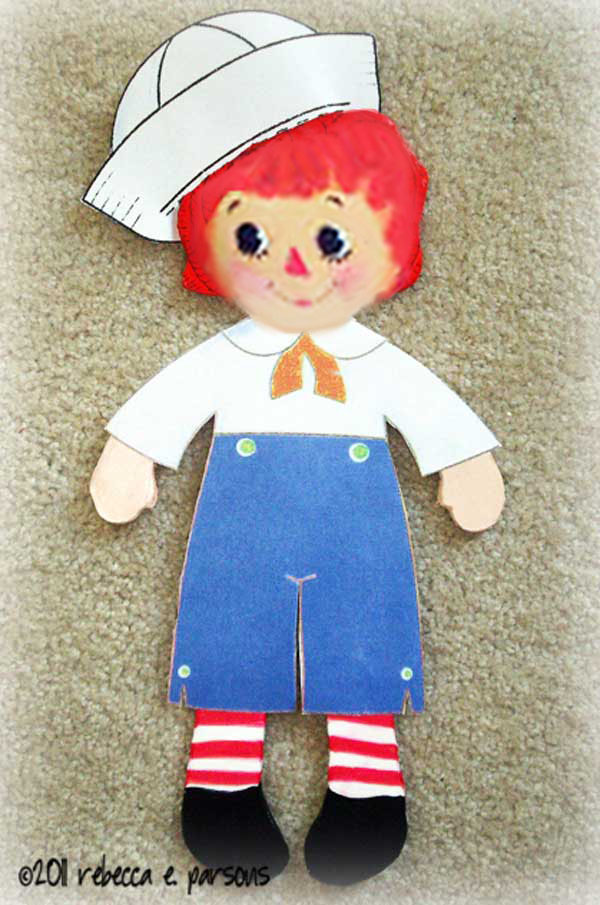
- Next I drew their outfits on the sketch pad. I painted them with Copic markers, cutting and gluing pieces and parts as necessary. I also added just a tiny bit of glitter to Ann’s apron. Next time I will make an outfit with some fabric and real trim as X-TREME glue Stick works on fabric as well. Remember to leave tabs to put the clothes on the doll. This was the fun part. I plan to make sailor suits next and many other clothes from fabric and paper regularly.
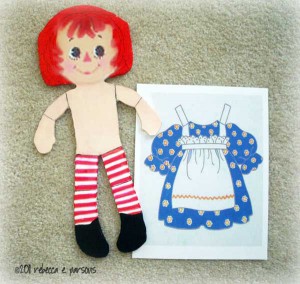
Ann with her clothes
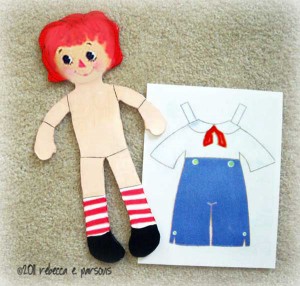
Andy with his clothes
- I cut out the clothes and tried them on. It worked!!! Aren’t they cute!!!
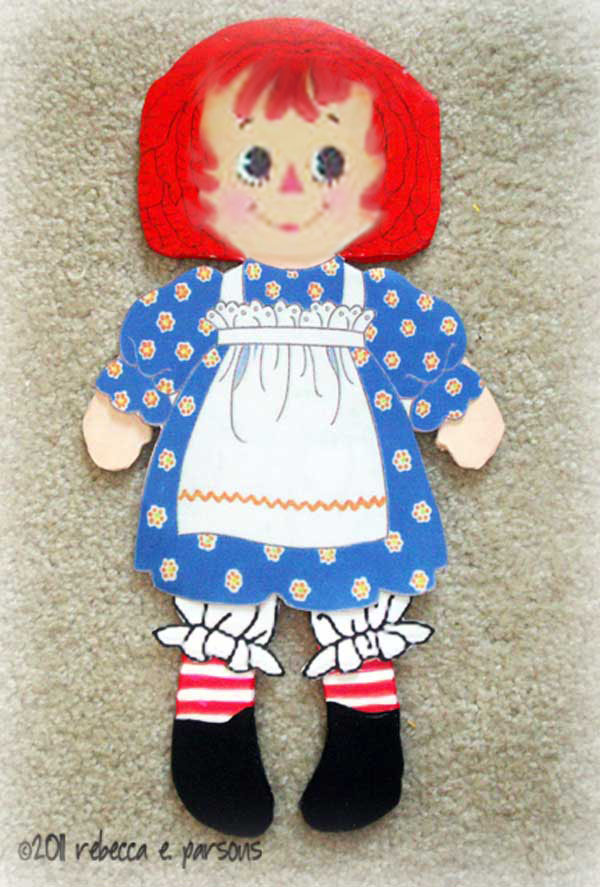
I loved creating this project and plan to make clothes for Raggedy Ann and Andy for years to come with my SBG. I can envision holiday outfits, birthday suits (LOL) even a graduation cap and gown when she graduates from high school. And perhaps even a wedding set!!! I can also envision creating a red yard wig for each of them!!! Below are some R&R resources if you want to find out more about the dolls.
- Raggedy Ann and Andy: History and Legend
- The real story behind R&R by Patricia Hall
‘); // ]]>
get the InLinkz code


Adorable!! PINNED!!
Oooh! Paper dolls!
I loved playing with paper dolls as a kid and think its time to reintroduce them to my kid.
I always loved paper dolls, I tried to get my daughter’s into them,, but Raggedy Ann & Andy were totally my favorite when I was a kid. Perhaps when Isabella gets a bit older I’ll introduce her to Paper Dolls. You’ve got quite the talent, love the adorable little faces! Very nice! Thank you for sharing!
These are super cute. But Wow what a lot of work! You did a fabulous job.